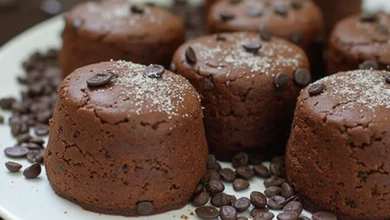
Chocolate Marble Muffins Recipe (Soft & Fluffy!)
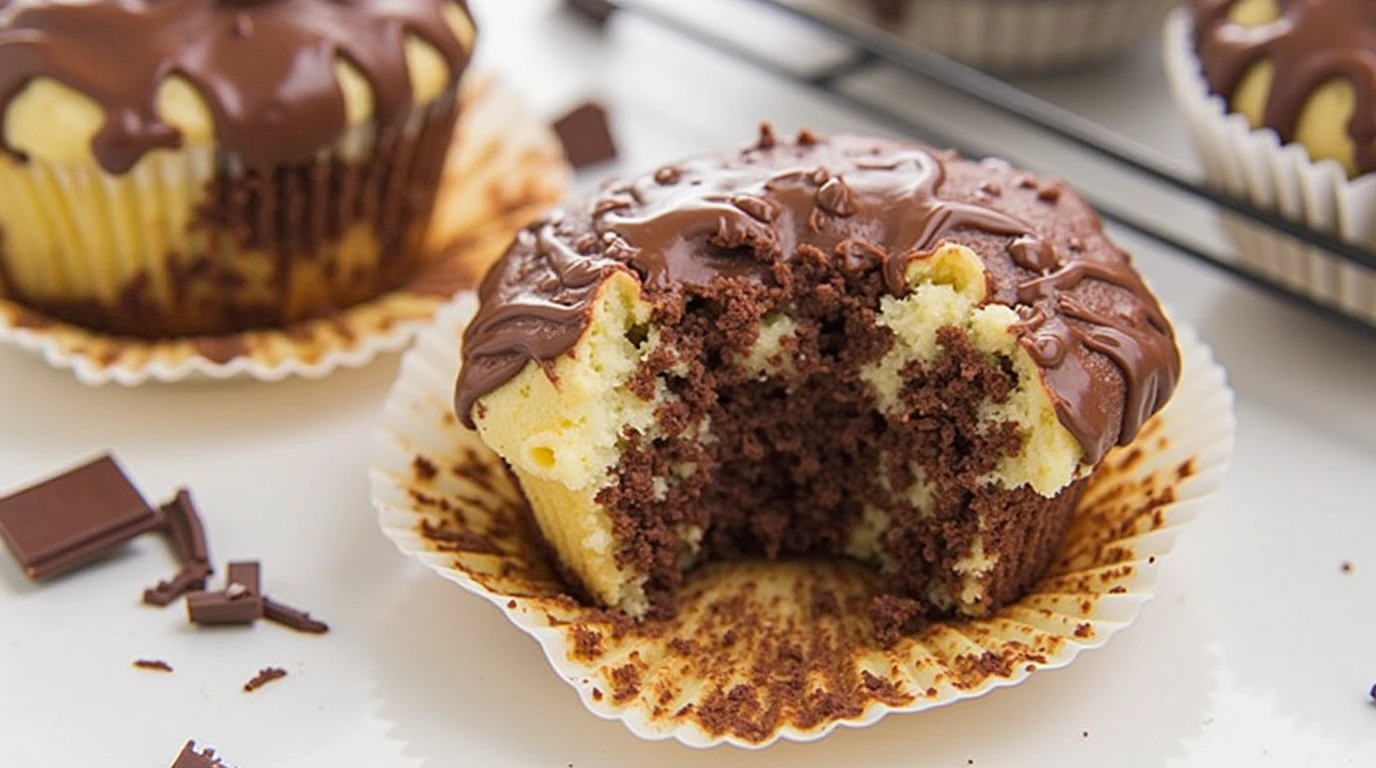
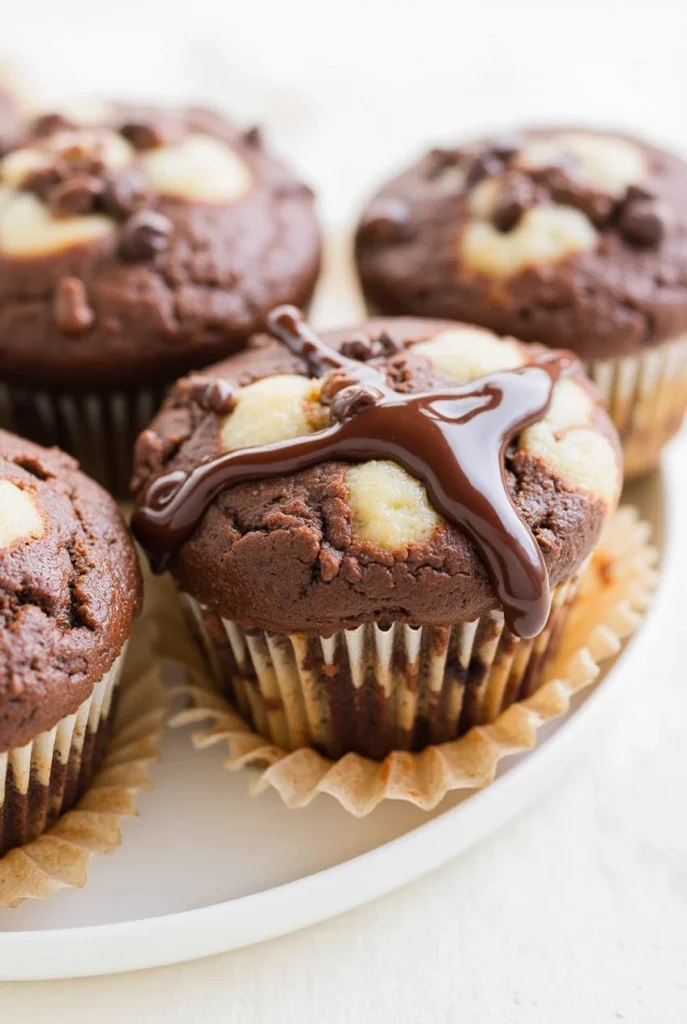
These homemade marble muffins are incredibly soft, moist, and packed with rich chocolate and vanilla flavors. The beautiful swirls make them a showstopper, and the melted chocolate topping takes them to the next level! Perfect for breakfast, snacks, or dessert.
Ingredients & Measurements
(Makes about 12 muffins)
Dry Ingredients:
- 2 cups (250g) all-purpose flour (sifted for a lighter texture)
- 1/2 cup (100g) granulated sugar
- 1/2 cup (100g) brown sugar (adds moisture and a slight caramel flavor)
- 2 teaspoons baking powder (for a good rise)
- 1/2 teaspoon baking soda (helps with fluffiness)
- 1/4 teaspoon salt (balances the sweetness)
Wet Ingredients:
- 2 large eggs (room temperature, for structure and richness)
- 1/2 cup (120ml) milk (whole milk or buttermilk for extra moisture)
- 1/2 cup (120ml) vegetable oil (or melted butter for more flavor)
- 1 teaspoon vanilla extract (enhances the overall taste)
Chocolate Batter Mix-In:
- 1/4 cup (25g) cocoa powder (unsweetened, for deep chocolate flavor)
- 2 tablespoons (30ml) hot water (helps dissolve the cocoa for a smooth texture)
Extras (Optional but Recommended!):
- 1/2 cup (90g) chocolate chips (semi-sweet or dark)
Topping:
- 1/4 cup (60g) melted chocolate or hazelnut spread (for a delicious finish)
Step-by-Step Instructions
Step 1: Preheat & Prepare Muffin Tin
- Preheat your oven to 350°F (175°C).
- Line a 12-cup muffin tin with paper liners or lightly grease it with oil/butter.
Step 2: Mix the Dry Ingredients
- In a large mixing bowl, whisk together:
- Flour, granulated sugar, brown sugar, baking powder, baking soda, and salt.
- Set aside.
Step 3: Mix the Wet Ingredients
- In another medium-sized bowl, whisk:
- Eggs, milk, vegetable oil (or melted butter), and vanilla extract.
- Stir until fully combined.
Step 4: Combine Wet & Dry Ingredients
- Pour the wet mixture into the dry mixture.
- Use a spatula or wooden spoon to mix until just combined. Do not overmix!
- Overmixing can make muffins dense instead of fluffy.
- The batter will be thick but smooth.
Step 5: Prepare the Chocolate Batter
- In a small bowl, mix cocoa powder with hot water until smooth.
- Take about 1/3 of the vanilla batter and mix it with the cocoa mixture.
- This will be your chocolate batter for the swirls.
Step 6: Create the Marble Effect
- Use two spoons to alternately drop vanilla and chocolate batter into each muffin cup.
- Fill each cup about 3/4 full.
- Use a toothpick or skewer to lightly swirl the batters together for a beautiful marble effect.
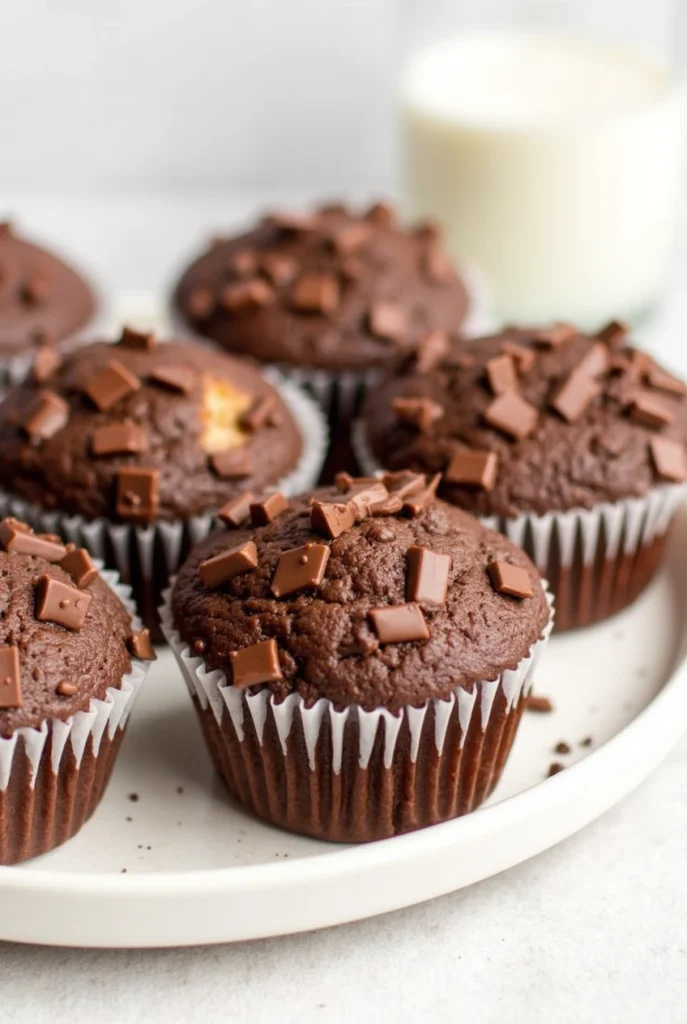
Step 7: Add Chocolate Chips (Optional but Delicious!)
- Sprinkle a few chocolate chips on top of each muffin or fold them into the batter before scooping.
Step 8: Bake the Muffins
- Place the muffin tin in the preheated oven and bake for 18–22 minutes.
- Test for doneness by inserting a toothpick in the center—if it comes out clean or with a few crumbs, they’re ready!
Step 9: Cool & Add Topping
- Let the muffins cool in the pan for 5 minutes, then transfer to a wire rack.
- Drizzle with melted chocolate or hazelnut spread while still warm for a glossy, delicious finish!

Tips for the Best Marble Muffins
✔ Use room-temperature ingredients for even mixing and a better texture.
✔ Don’t overmix the batter—stir just until the ingredients come together.
✔ Use good-quality cocoa powder for a rich chocolate flavor.
✔ For extra flavor, add a pinch of cinnamon to the vanilla batter.
✔ Want them extra moist? Substitute buttermilk instead of regular milk.
Storage & Freezing
- Room Temperature: Store in an airtight container for up to 3 days.
- Refrigerator: Keep in the fridge for up to 1 week.
- Freezing: Wrap each muffin in plastic wrap and store in a freezer bag for up to 3 months.
To Reheat: Warm in the microwave for 10–15 seconds to restore their softness!
Enjoy Your Homemade Chocolate Marble Muffins!
These muffins are perfect for breakfast, tea time, or a sweet snack. Let me know if you try them! Would you like more variations, such as adding nuts or using almond flour for a gluten-free version?